Installing wood flooring in your home is a rewarding DIY project that can add beauty and value to your space. While it may seem like a daunting task, with the right tools, materials, and a little patience, you can achieve professional-looking results. In this step-by-step guide, we’ll walk you through the process of DIY wood floor installation, making it easy to understand and execute.
Step 1: Gather Your Materials and Tools
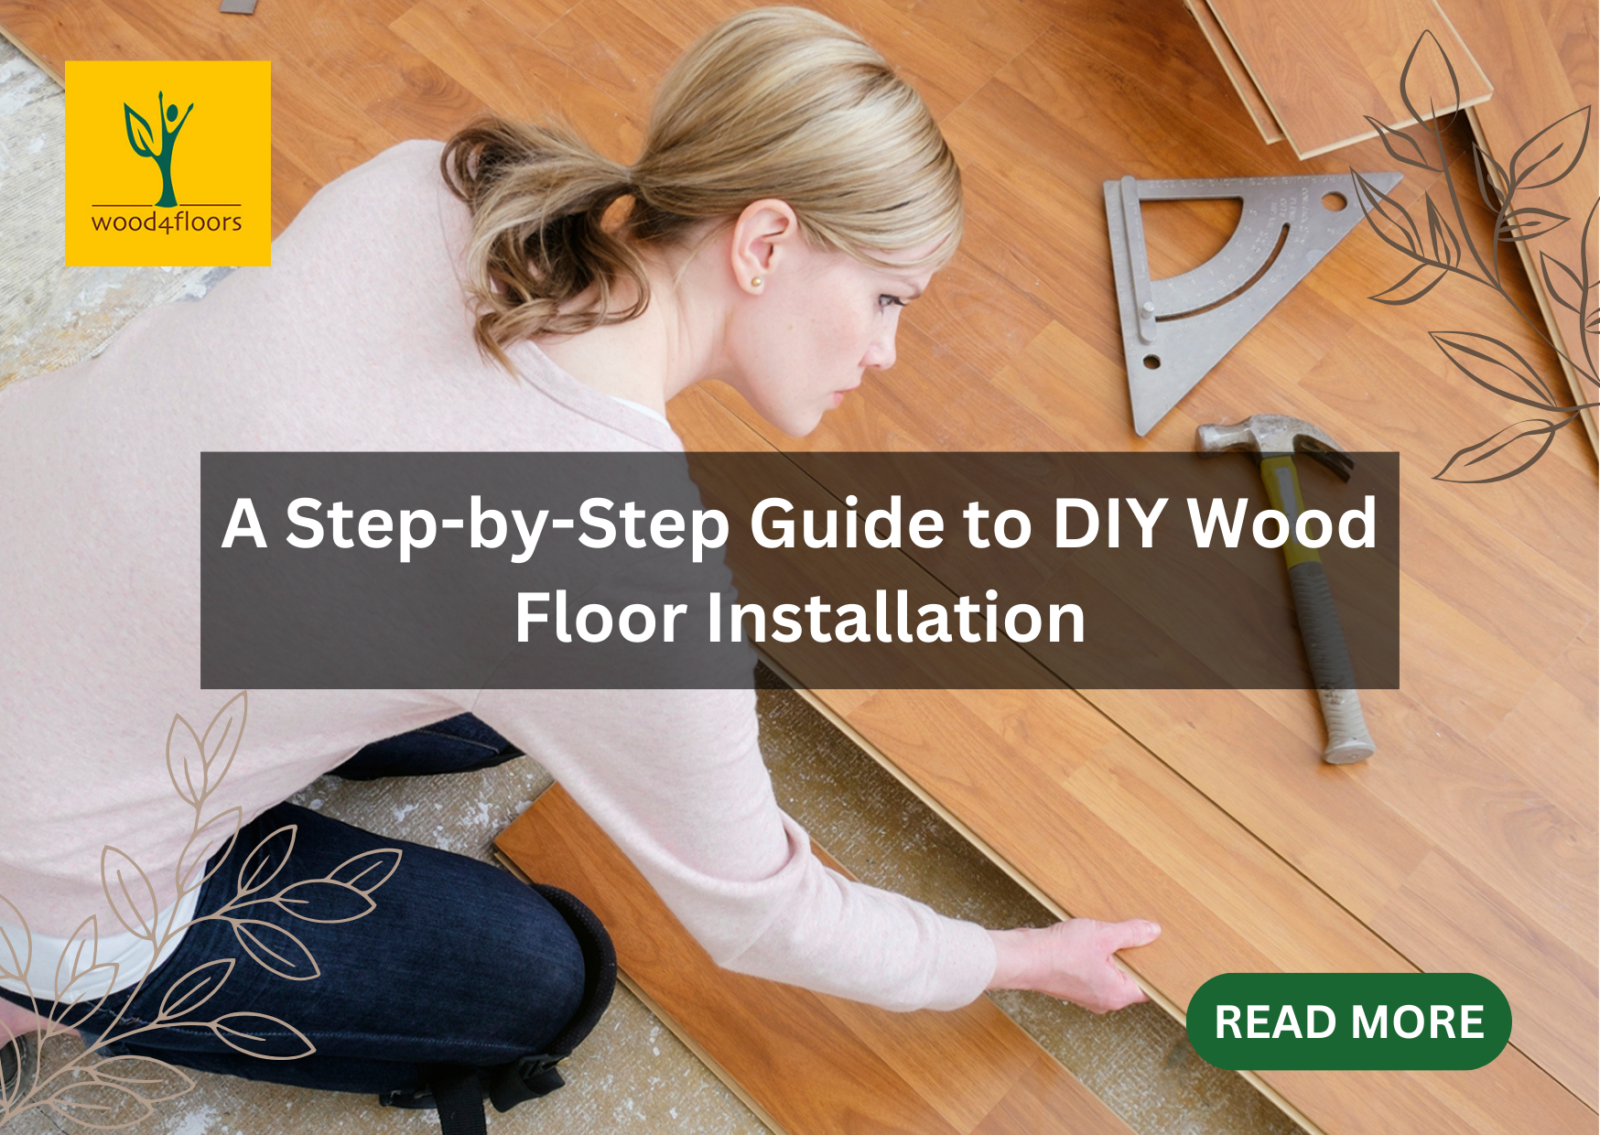
Before you begin, make sure you have the following materials and tools on hand:
- Wood flooring planks
- Underlayment (if required)
- Moisture barrier (if needed)
- Flooring adhesive or nails
- Hammer or nail gun
- Circular saw or miter saw
- Tape measure
- Spacers
- Trowel or flooring adhesive applicator
- Chalk line
- Safety gear (gloves, safety glasses, ear protection)
Step 2: Prepare the Subfloor
Ensure your subfloor is clean, dry, and level. If needed, use a moisture barrier to protect your wood flooring from moisture in the subfloor. Lay down underlayment if it’s recommended for your specific type of wood flooring.
Step 3: Plan the Layout
Decide the direction in which you want to lay your wood flooring. Typically, it’s installed parallel to the longest wall or along the main source of natural light. Use spacers to create an expansion gap between the flooring and the walls, allowing for natural expansion and contraction.
Step 4: Start the Installation
Begin installing your wood flooring along one wall. Use a chalk line to create a straight reference line, which will guide your first row of planks. Apply adhesive or use a nail gun to secure the first row in place, making sure to leave the necessary expansion gap along the walls.
Step 5: Continue Installing Rows
As you continue, stagger the end joints of adjacent rows to create a visually appealing and stable installation. Use a circular saw or miter saw to cut planks to size as needed, ensuring they fit snugly against the wall. Always follow the manufacturer’s guidelines for installation.
Step 6: Complete the Final Rows
In the final rows, you may need to cut planks to fit the remaining space. Measure and cut accurately to maintain a professional finish. When you reach the last row, measure the width required and cut the planks to fit.
Step 7: Add Finishing Touches
Install any transition strips or trim pieces required to complete your wood floor installation. These pieces help provide a seamless transition between different flooring materials or between your wood flooring and other areas of your home.
Step 8: Clean Up and Enjoy Your New Floor
Once your wood floor is installed, clean up any debris or adhesive residue. Dispose of waste materials properly. Allow the adhesive to cure as per the manufacturer’s instructions. After that, you can move your furniture back in and enjoy your beautiful new wood floor.
Conclusion
DIY wood floor installation is a rewarding project that can enhance the beauty and value of your home. With careful planning and attention to detail, you can achieve professional-looking results. Remember to take your time, follow safety guidelines, and consult the manufacturer’s instructions for your specific wood flooring type. By following this step-by-step guide, you’ll have a stunning wood floor that you can be proud of for years to come.